Stencil tutorial 2:
Adding towers
In the previous post, I created the basics for a Tower Defense Game. In this part, I will add two towers that are able to kill those nasty enemies.
The result can be seen here; you can also download it from StencylForge under the name “Publysher - TD Tutorial #2”.
Towers
Towers are the heart of any Tower Defense game. The player places them at strategical positions on the battle field. When a tower has been placed on the field, it will shoot at all enemies within range.
For now, I will work with static towers, i.e. towers that are placed in the scene by me, not by the player.
A New Actor
We start by adding a new actor. Download this image, and add it to your project using the “Import Resource…” feature. Using the scene editor, add two towers to your test scene. The results should look a bit like this:

Look closely at the left-hand side of the screen. Keeping true to my tips in part 1, I’ve added another layer called “Towers”. And now that we’re talking about tips, take a look at this screenshot:
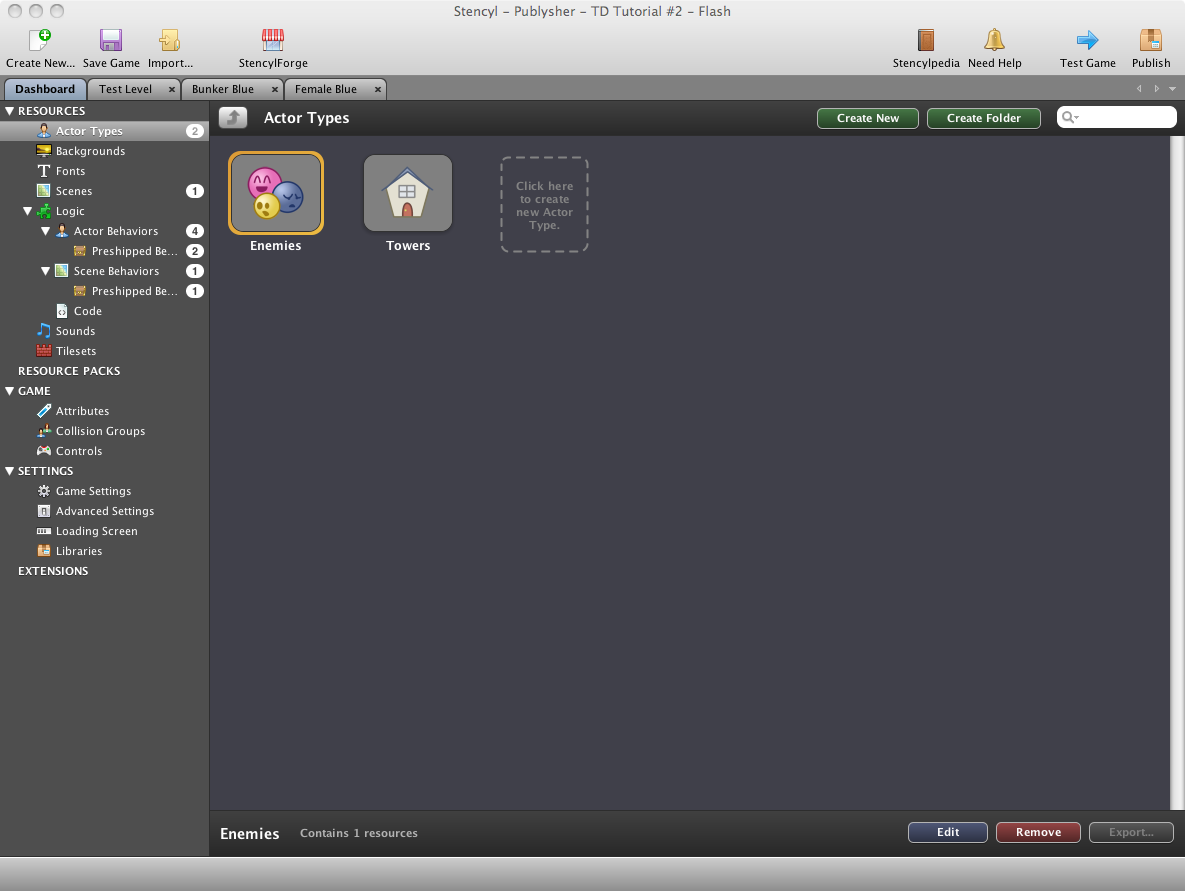
I have used the “Create Folder” button to create different folders for my Enemies and my Towers. Of course, at the moment each folder only contains one actor, but I can easily see this growing over time.
Tip: Putting your actors and behaviors in easy-to-recognize folders will help you find everything back once your game has grown beyond a certain size.
Things That Go Bump
Now try what happens when we press the “Test Game” button. Once again, you are presented with a screen of wandering enemies, but this time there are two towers present. But our enemies don’t care. If you wait long enough, enemies will even walk straight through your tower!
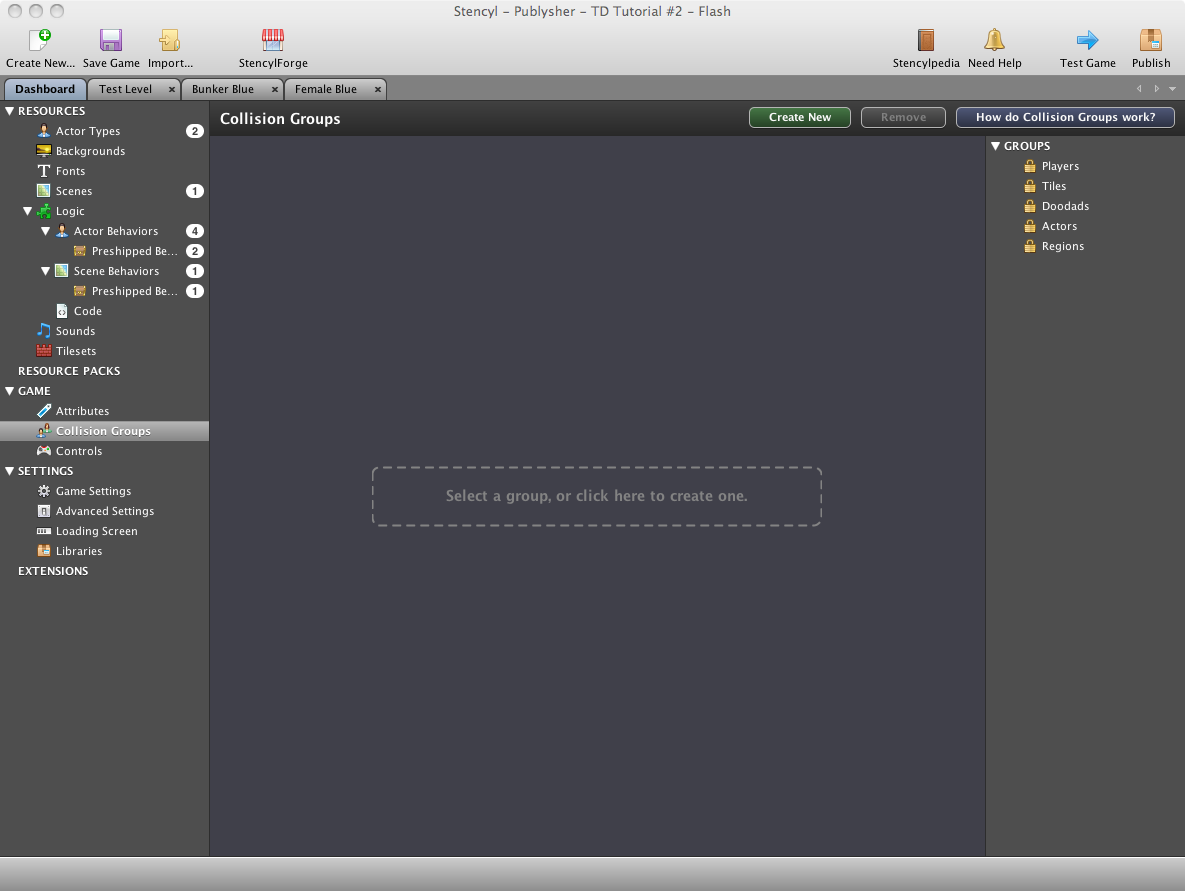
Time to introduce collision groups. Collision groups are StencylWork’s way of making things bump into each other. We are going to create two new collision groups, define their respective collisions and place our existing actors into those groups.
Go to the Dashboard tab and select “Collision Groups”. You are presented with the following screen.
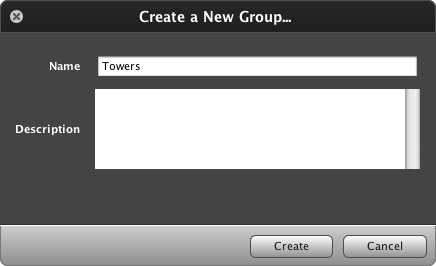
Click on the “Create New” button and create a new group called “Towers”:
And now create a new group called “Enemies”. On the resulting page, click on the “Towers” button. We have now defined that everything in the group “Enemies” will collide (go bump) with everything in the group “Towers”:
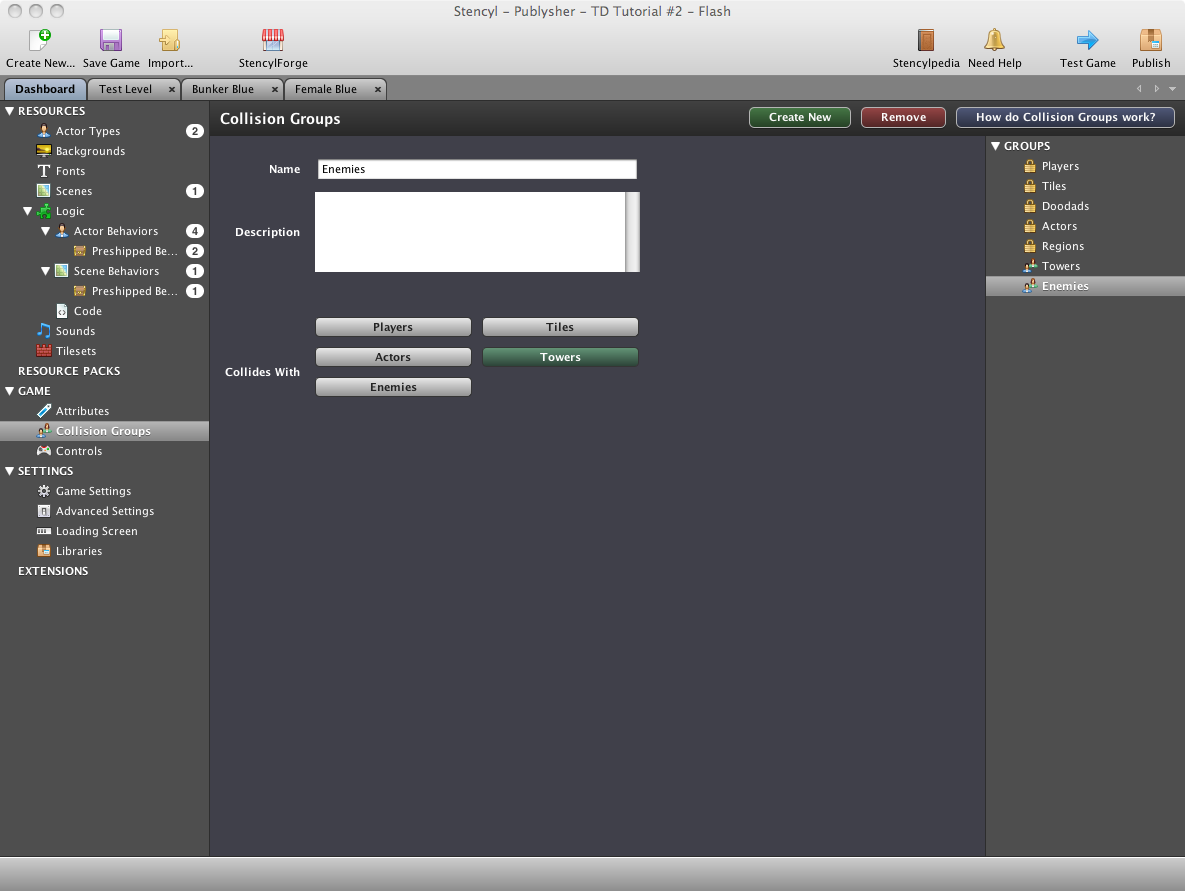
If you want, you can also click on the Enemies button, to prevent our enemies from walking through each other.
Tip: New games in Stencyl automatically have a number of predefined collision groups with generic names. Ignore those as much as possible and always create your own groups with clear descriptive names. In the end, you will be much happier.
If you want, you can press “Test Game” again, but be prepared for a disappointing experience. Our collision groups still don’t work.
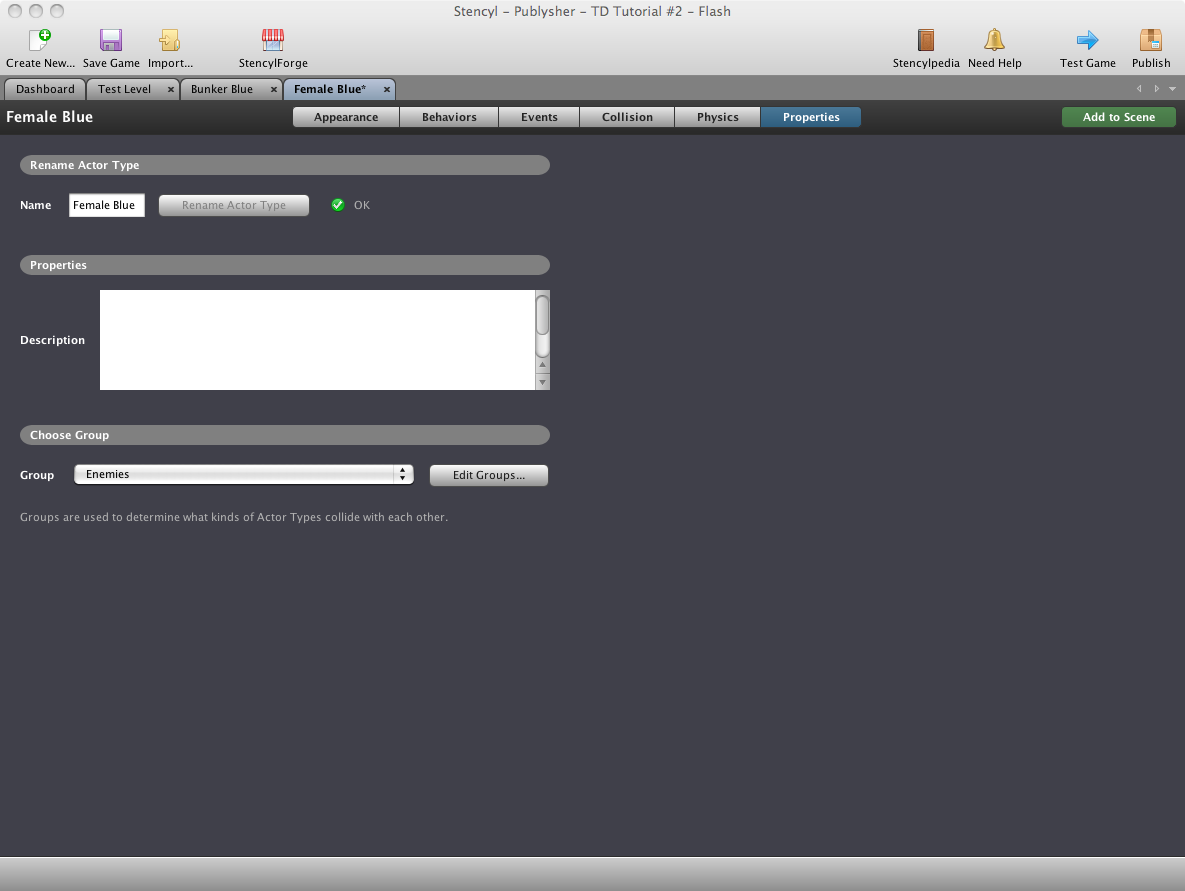
Even though it is perfectly logical that every enemy belong in the group Enemies, and that every tower belongs in the group Towers, computers do not understand this kind of logic. Go to the actor called “Female Blue” and select the tab “Properties”. Under “Choose group” you can now select “Enemies”:
Using similar steps, put our “Bunker Blue” in the group “Towers”. Click “Test Game” once again and lo and behold: our enemies now bump against our towers.
Kill Them!
For most Tower Defense games, bumping into towers is not enough. We want our towers to actually shoot at enemies. To do this, we will create a new custom Design mode Actor Behavior called “Kill Targets in Range”.
For now, this behavior will be very simple: we want to define a circumference around the tower. Whenever an enemy comes within its radius, we just want to kill it.
StencylWorks contains the concept of “Regions” to define such circumference. So, when our tower is created we want to create a region. Then, whenever an enemy walks into this region, we kill it.
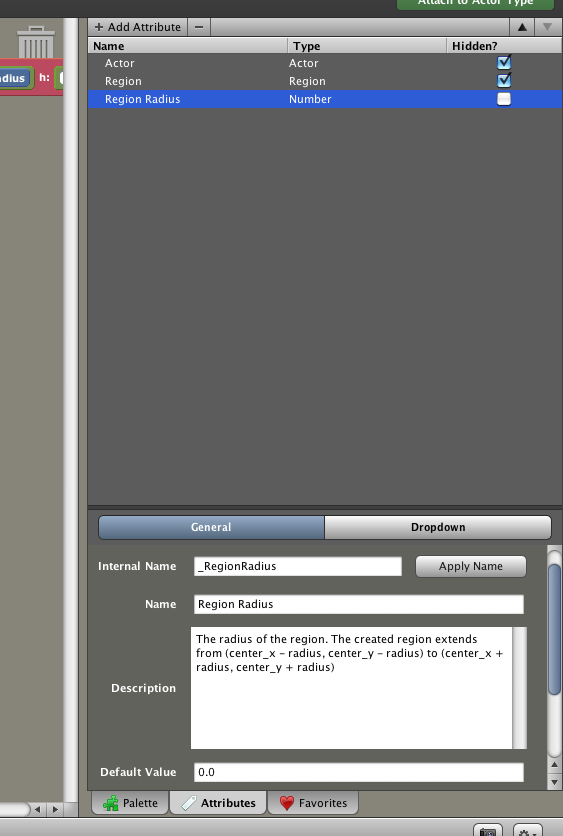
The last question is: how large is this region going to be? I’m not really sure, so let’s turn this into an attribute.
Tip: whenever you’re unsure about something, try to create an attribute for it.
Create two attributes: a Number attribute called “Region Radius”, and a Region attribute called “Region”. Make the latter one hidden by using the “Hidden” checkbox. We are going to use this attribute to remember what we created.
Now, create two events: a Basics, When Creating event and an Actors, Enters or Leaves a Region, Member of Group event.
Try to recreate the events as follows:

This basically states:
- When a tower is created, create a rectangular region around our center with a radius of “Region Radius” pixels. Call this region “Region”.
- Whenever an enemy walks into the region we called “Region”, kill it.
Putting it Together
Now you can go back to the “Bunker Blue” actor, click on the “Add Behavior” button and add our newly created behavior . As you can see, we can enter a “Region Radius”. Let’s start with a radius of 80.
Press “Test Game” once more and hurray! Whenever an enemy wanders too close to a tower, it is utterly destroyed.
Seeing is Believing
As you might have noticed, there is still quite some magic involved. We have chosen an arbitrary radius of 80 and we have seen that enemies do disappear. But how large is a radius of 80 pixels exactly? And are we sure the enemies do not disappear at random?
Time to introduce a new behavior.
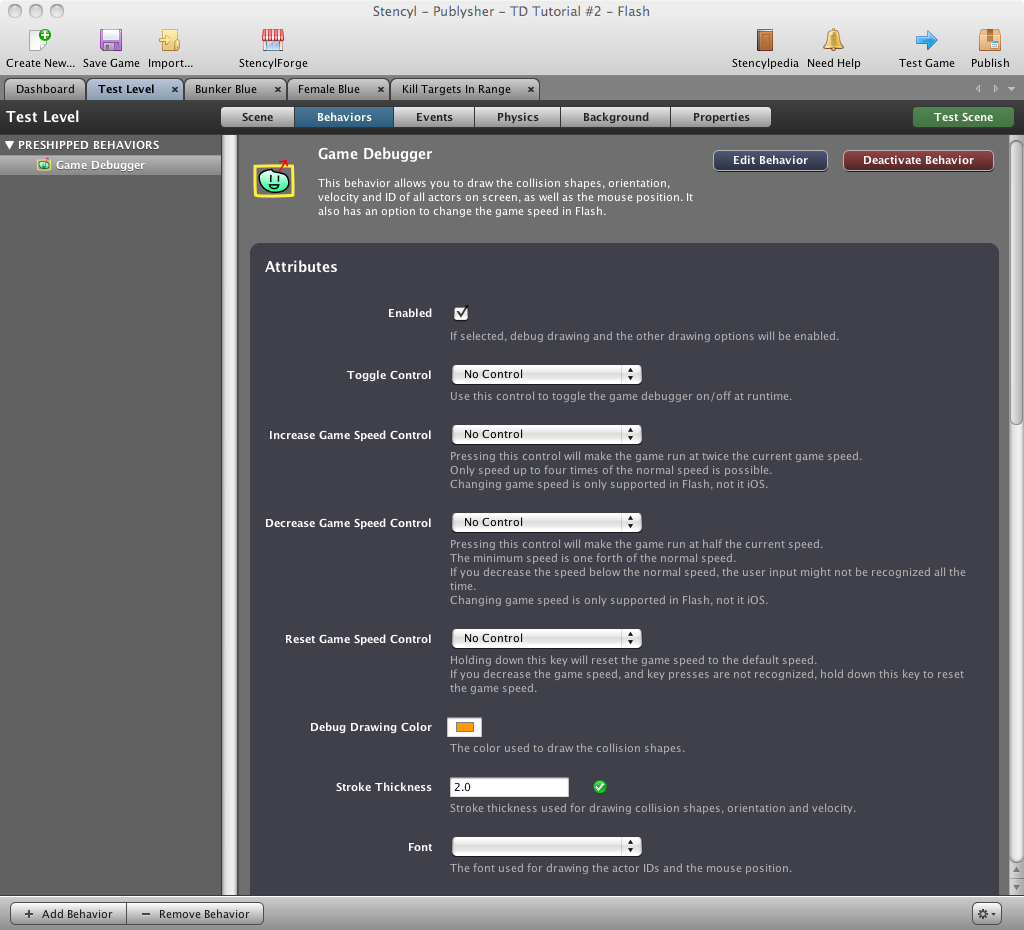
Go to your Test Scene, select the Behaviors tab and add the pre-shipped called Game Debugger. You are now presented with a huge amount of options, which we will ignore for now. Just make sure the first checkbox called “Enable” is checked:
Test the game:

That’s nice. Every actor now has an orange bounding box, and our towers are surrounded with an even larger orange box. This large orange box is our Region. You can see that as soon as an orange enemy box touches a region box, the enemy box disappears. Our behavior is working correcly!
Stay in Control
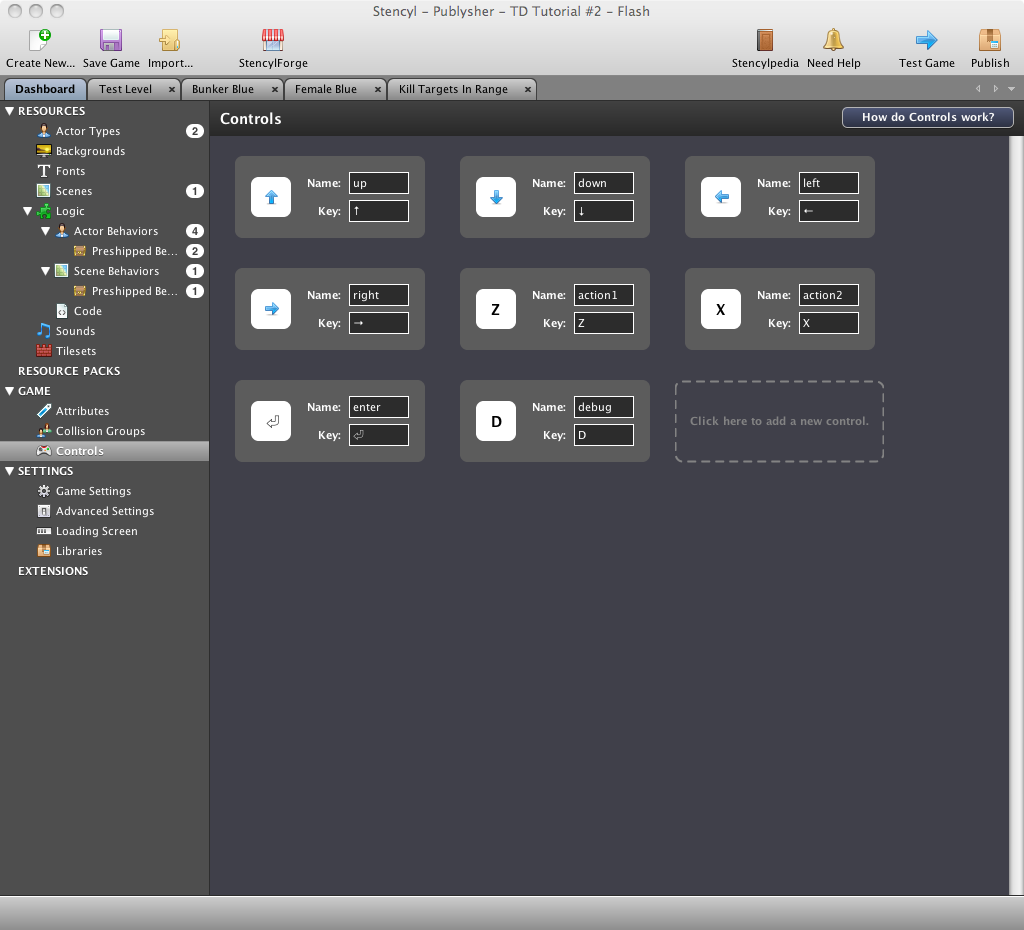
This Game Debugger is very nifty, but we can make it even better. On the Dashboard, go to “Controls”, add a new control, call it “Debug” and assign it to the D key:
Now go back to the Test Level, Behaviors, Game Debugger window. Deselect the “Enabled” checkbox, choose “debug” as your “Toggle Control”, “up” as your “Increase Game Speed Control” and “Down” as your “Decrease Game Speed Control”:

Test the game again. The orange boxes have disappeared again. Press the “D” key on your keyboard and you will see them appearing again. You can also make the game go faster by pressing the Up arrow on your keyboard, or make the game go slower by pressing the Down arrow.
This is going to be useful.
Tip: The pre-shipped Game Debugger is a powerful tool. Make sure you include it in your games as soon as possible. But don’t forget to remove it from your game before shipping.
Wrapping Up
In this tutorial, I have:
- created a new kind of actor: the tower
- created custom collision groups to make sure our enemies don’t walk through our towers
- created a basic killing behavior
- introduced the powerful Game Debugger
The final result can be played here and the game can be downloaded from Stencyl Forge under the name “Publysher - TD Tutorial #2”.
In part 3 of this tutorial I will introduce health and shooting.
Do the wave
Staying alive
Satisfaction
Creating towers
Follow the path
Choosing your target
Shooting
Getting healthy
Adding towers
the humble beginnings
Making Preparations